Monday, May 6, 2019

First Time Quilting Negative Space

Keep in mind that this is my first time quilting negative space.  I've used up 3 bobbins for this top section.  Here's what I've got so far....


Gotta have some dandelions!
 
Just a fun flower.


 I used a stencil to get the main shape.  Then added some free-motion to fill it up. 

Friday, March 22, 2019

Made a Cover For My Longarm

I have a lot of samples that I've made for teaching my classes, or when I took classes.  So I sewed some of them together with my serger.  This will keep the cat from getting on the quilt.  And I'll have some ideas handy when I'm stuck with the how-do-I-quilt-this blues.


Tuesday, March 12, 2019

Fringe Quilt Top Is Finished

The exciting thing about this quilt, is all of the "negative space" that needs to be quilted!  I haven't really had much experience with negative space quilting, and it's a bit intimidating.

 My longarm is in the way, so you can't see the whole thing.

I've made a lot of samples for my Home Machine Quilting Club.  Maybe I'll just make something different in each big, grey square. 

Or do I want to make the quilting revolve around dandelions and birds?

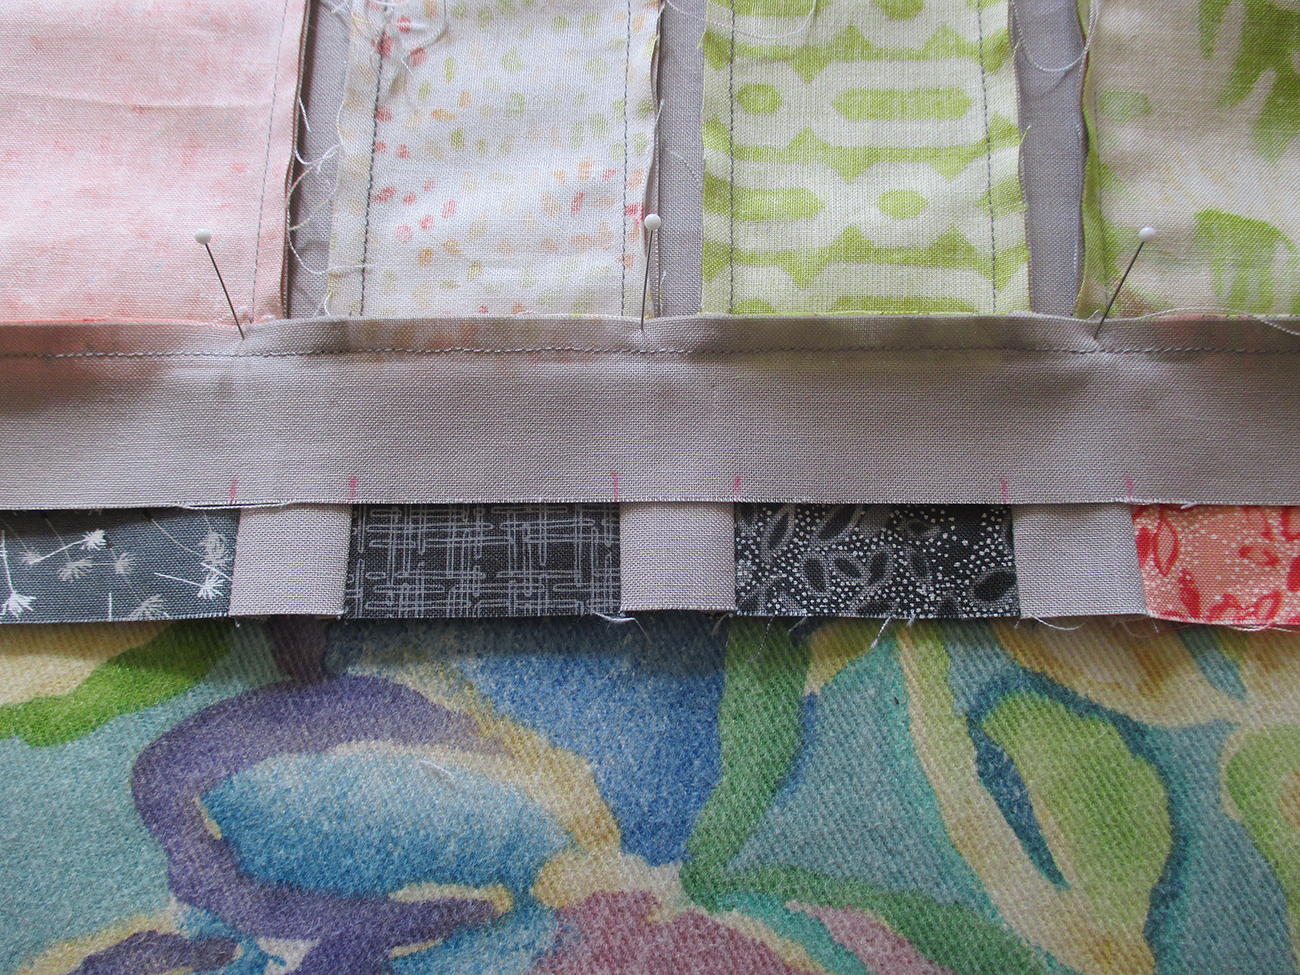
The light grey sashings are 3/4" wide.  I think I'll just quilt 2 straight lines through each sashing.  Maybe do a strand of pearls in each small, dark grey, border rectangle.

Where the focus fabrics (dandelions and birds) are, I'll probably just cross-hatch.  In the other big print squares, I'd like to make medallions.

Please post any ideas you may have, below.

Monday, March 11, 2019

Matching Sashing Intersections

I'm making the Fringe sample for the store, from Robin Pickens' Dandi Annie line, by Moda.  I LOVE this fabric!  The pattern is challenging if you're not sure how to get all of those sashing intersections to match.  Here's how I do it.

First, I sewed all the rows together.  Then I measured 6 different rows.  Then averaged the measurements and cut ALL of the horizontal sashing pieces the SAME size.  This will help the quilt
be squared-up when the top is finished.

My sewn rows aren't exactly the same length, but that's alright.  I'll pin the sashing strip to the bottom of a row, at both ends.  Then I'll pin one end (right side) into the carpet.  


The sashing is a little shorter than the row.


Stretch the sashing and the row just a little, until they're the same size.  Then pin the other end into the carpet.  Now I can evenly pin the rest of the row.


When the sashing strip is sewn to one strip, then we'll get it ready to sew to the other side.  I fold the sashing onto the row and use my Frixion pen to mark where the seams are on the sashing.


See how the marks line-up with the opposite row?


Pin all of the seam allowances in place.


 See how there's gap in the row between the pins?  As I sew, I can ease this to fit by pulling it taut.


Here are my finished intersections.


Monday, February 25, 2019

Free Patterns Added!

If you'll look above, there's a FREE PATTERNS!!! tab.  I've added 8 new, FREE patterns!  Here are some pictures.

Thread Catcher for a Serger


Mitered Corner Receiving Blanket
(Burp Cloth and Bib, too.)


60 Degree Border Print Table Topper


Beginning Binding Class Handout


Chenille Hot Pads

Denim Chenille Rug


Rick-Rack Boxes


The Simple Quilt with Pillow

Thursday, December 21, 2017

OH, FUDGE! Recipes

The one Christmas tradition we have in our family is making fudge.  My mother taught me how to make fudge.  The recipe we used was from the newspaper, back in the 1950's, that said it was the See's Fudge recipe.  I don't believe it really was.  

I've tweaked the recipe a little, and added lots of different flavors.  We've delivered them to family and friends today.  ...still have a few to deliver.  Here's a picture of the 5 flavors we made this year:  Cookies and Cream, Butterscotch, Peppermint Crunch, S'mores and Salted Carmel Chocolate.

OH, FUDGE! on a Big, Easy Dresden.
Here's my recipe:

OH, FUDGE!


FUDGE MAKING TIPS

  • Use a BIG, non-stick pan (6 quarts or larger).  Marshmallows expand when heated, and you don’t want hot candy to boil over.

  • To prevent boiling over, grease the top 1” of the inside of your pan with butter.

  • Always use a candy thermometer.  Fudge will not be stiff enough unless it reaches 245° F.  Anything less than 245° and you will have “spoon fudge.”

  • Choose a candy thermometer that has a sealed, glass top.  One with a rubber stopper in the top will not survive many dips in a pan of hot fudge.

  • Use a wooden spoon while boiling the fudge.  A metal spoon will give the fudge a metallic taste. 

  • I like a wooden spoon with a hole through the middle of it’s bowl, and a slightly rounded surface on the bottom edge.


  • Turn the heat down and stir more quickly and thoroughly to
  • prevent brown scorch streaks.  This is especially important when using white chocolate.  Scrape the bottom and sides of a non-stick pan, but NOT a regular pan.

  • When adding “stir-ins,” (nuts, marshmallows, candies, etc.), place them in the pan your finished fudge will cool in.  Stir them into the fudge as it is poured into the pan.

  • There will be more than 1 1/3 cup of milk in your can of     evaporated milk.  Don’t use the extra.  Your fudge will take longer to cook, and may become crystal-y.

Basic Chocolate Fudge
(measurements also given for (1/2 batch) and [1/4 batch]

Put the following into a heat-resistant bowl:

  • Chocolate chips — a 10-12 oz bag or 2 cups (1 cup), [1/2 cup]  You may use milk, semi-sweet or dark chocolate chips.
  • Butter, cut up — 1 cup (1/2 cup), [1/4 cup] — margarine may be used, but makes a darker colored fudge.
  • Vanilla — 2 tsp. (1 tsp.), [1/2 tsp.]
Put the following in a large sauce pan:
  • Sugar — 4 cups (2 cups), [1 cup]
  • Evaporated milk — 1 1/3 cup (2/3 cup), [1/3 cup]
  • Marshmallows — 28 large or 4 cups mini marshmallows (14 large or 2 cups), [7 large or 2 cups]

Prepare a 9” X 13” pan (8” X 8”), [8” X 4” loaf pan] by spraying with vegetable spray or greasing with butter.  Place “stir-ins” in this pan.  


Heat ingredients in large pan to boiling, stirring constantly.  Continue boiling and stirring until the candy thermometer reads 245°F (about 8-10 minutes).  

Immediately pour hot ingredients into heat resistant bowl with other ingredients.  Beat with a mixer until thickened and butter is mixed in.  

Pour into pan and spread evenly.  


Let cool and cut into squares before you refrigerate it.  Yield: about 50 (25), [12] pieces.


-------------------------------------------------------------------------------


Make changes in the above recipe to make all of the other recipes in the booklet.

White Chocolate Fudge:  Replace the chocolate chips with white chocolate chips.

Rocky Road Fudge:  Make Basic Chocolate Fudge and stir in 1 cup (1/2 cup), [1/4 cup] mini marshmallows, 1/2 cup (1/4 cup), [2 Tbsp.], mini chocolate chips, and 1/2 cup (1/4 cup), [2 Tbsp.] chopped pecans or walnuts.

Peppermint Crunch Fudge:  Replace chocolate chips with white chocolate chips.  Stir in 1 cup (1/2 cup), [1/4 cup] crushed candy cane.

Gourmet Hazelnut Fudge:  add 1/2 cup (1/4 cup), [2 Tbsp.]
hazelnut paste to ingredients in heat resistant bowl.

Peanut Butter Fudge:  Replace the chocolate chips with
peanut butter chips.


Chocolate / Peanut Butter Fudge:  Use half chocolate chips and half peanut butter chips.  Top with or stir in 1 cup (1/2 cup), [1/4 cup] Reeses Pieces candies.

Layered Chocolate / Peanut Butter Fudge:  Make 1/2 batch of peanut butter fudge and pour it into the pan.  Let cool.  Then make  a 1/2 batch of chocolate fudge and pour it over the peanut butter fudge.  Top with, or stir in 1 cup (1/2 cup), [1/4 cup] Reeses Pieces candies.

Cookies and Cream Fudge:  Stir in 1 cup (1/2 cup), [1/4 cup] broken Oreo cookies into White Chocolate Fudge.  For best results, do not crush the cookie, break them into 1/4” to 1/2” pieces.

Butterscotch Fudge:  Replace chocolate chips with butterscotch chips.

M & M Fudge:  Make Basic Chocolate or White Chocolate Fudge.  Stir in 1 cup (1/2 cup), [1/4 cup] M & M candies.

S’mores Fudge:  Make Basic Chocolate Fudge, and stir-in broken graham crackers, mini marshmallows and mini dark
chocolate chips.


Salted Carmel Fudge:  Make basic chocolate fudge and stir in caramel bits.  Sprinkle with sea salt or pretzel salt.
 
Mint Fudge:  Replace chocolate chips with white chocolate chips.  Replace vanilla with mint extract.  Add green food coloring.  Or just replace chocolate chips with mint chips.

Chocolate / Mint Fudge:  Make basic chocolate fudge.  Replace the vanilla with double the amount of mint extract.


Grasshopper Fudge:  Make 1/2 batch of Basic Chocolate Fudge and pour it into the pan.  Let cool.  Make 1/2 batch of Mint Fudge and pour it over the chocolate fudge.  Top warm fudge with mini chocolate chips.

Strawberry Fudge:  Replace chocolate chips with white chocolate chips.  Replace vanilla with double the amount of strawberry extract and add red food coloring.

Chocolate / Strawberry Fudge:  Use chocolate chips. 
Replace vanilla with double the amount of strawberry extract.

Layered Chocolate / Strawberry Fudge:  Make a 1/2 batch of chocolate fudge and pour it into the pan.  Let cool.  Then make a 1/2 batch of strawberry fudge, and pour it over the chocolate fudge.

Fruity Rainbow Fudge:  Replace chocolate chips with white chocolate chips.  Replace regular marshmallows with mini fruit flavored marshmallows, divided by colors.  Make four separate 1/4 batches, each using different colored marshmallows.  You may add food coloring while cooking to enhance the colors.  Pour each batch into the pan in layers.  Allow each layer to cool before adding the next layer.  Start with green on the bottom, then yellow, orange, and pink.  Push a “Skittles” candy into the top of each square before the top layer cools.

Truffles:  Cut your favorite fudge into 1/2 size squares.  Dip in melted chocolate.  Let cool.

Cookie Cutter Shaped Fudge:  Let your favorite fudge cool just enough that it can be handled, yet will hold a shape.  Put a ball of warm fudge between 2 pieces of waxed paper.  Press it with your hands until it is about 1/2” thick.  Use small cookie cutters that are open on the back, so the fudge can push up and through them.  Decorate with colored frostings, sprinkles, or candy pieces.  Make the leftover fudge into “Snowballs” (see page 12).  Soften in microwave if needed.

Snowballs:  Roll your favorite fudge into a ball, and then roll it in chopped nuts or candy sprinkles.  You may want to add a nut or candy in the center, but work quickly!  Soften in the microwave if needed.

Tropical Snowballs:  Make banana, coconut or pineapple
flavored fudge by replacing the chocolate chips with white
chocolate chips and adding 2 tsp. (1 tsp.) [1/2 tsp.] banana
coconut or pineapple extract with the vanilla.  Roll fudge into a ball with a macadamia nut in the center.  Then roll it in coconut.  Soften in the microwave if needed.

Other Fudgey Ideas

• Use any flavored extract in place of the vanilla.
• Use any flavored chocolate chips or carob disks.
• Stir-in your favorite goodies:  broken cookies, broken candy
      bars, dried fruit, cake, pretzels, nuts, caramel bits, etc.


Thursday, October 26, 2017

Witches Night Out

I've been out with the neighborhood ladies at the annual Witches Night Out.  We went to Kneaders to have dinner and desserts.  And I won a lovely, metal spider in a web, that I can hang on my front porch.
I had to get out my special hat and wart, just for this special occasion.